
README.md 2.3 KB
Gotify agent alert notifications
Learn how to send alerts to your Gotify instance using Netdata's Agent alert notification feature, which supports dozens of endpoints, user roles, and more.
Note
This file assumes you have read the Introduction to Agent alert notifications, detailing how the Netdata Agent's alert notification method works.
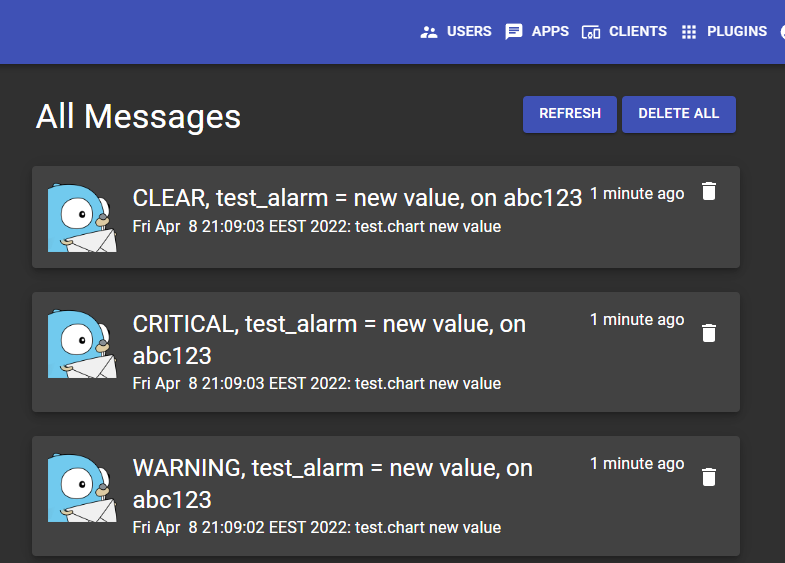
Gotify is a self-hosted push notification service created for sending and receiving messages in real time.
This is what you will get:
Prerequisites
You will need:
- An application token. You can generate a new token in the Gotify Web UI.
- terminal access to the Agent you wish to configure
Configure Netdata to send alert notifications to Gotify
Info
This file mentions editing configuration files.
- To edit configuration files in a safe way, we provide the
edit configscript located in your Netdata config directory (typically is/etc/netdata) that creates the proper file and opens it in an editor automatically.
Note that to run the script you need to be inside your Netdata config directory.It is recommended to use this way for configuring Netdata.
Edit health_alarm_notify.conf, changes to this file do not require restarting Netdata:
- Set
SEND_GOTIFYtoYES - Set
GOTIFY_APP_TOKENto the app token you generated GOTIFY_APP_URLto point to your Gotify instance, for examplehttps://push.example.domain/
An example of a working configuration would be:
SEND_GOTIFY="YES"
GOTIFY_APP_TOKEN="XXXXXXXXXXXXXXX"
GOTIFY_APP_URL="https://push.example.domain/"
Test the notification method
To test this alert refer to the "Testing Alert Notifications" section of the Agent alert notifications page.