
getting-started.md 5.1 KB
Getting Started
Development Environment
Please make sure that you setup your system correctly by following our "How to set up a development environment" guide.
We emphasize to set following environment variables for developing Zammad.
- Out of the box,
rails db:seedis very slow, because it pulls a large library of user interface translations (in over thirty different languages) from a remote server.
To speed this up, use $Z_LOCALES to limit the set of downloaded translations.
Z_LOCALES=en-us:de-de
Note: Make sure to include your locale in $Z_LOCALES.
Cloning Repository
It's possible to clone the repository via HTTPS and SSH.
# HTTPS
$ git clone https://github.com/zammad/zammad.git

# SSH
$ git clone git@github.com:zammad/zammad.git
Initializing Zammad
After the installation of the correct Ruby version (see here), the following command can be used to install all Ruby dependencies:
$ bundle config set --local without 'mysql'
$ bundle install
We at Zammad like to work in an efficient way, therefore we have some Rake tasks to speed up setting up/refreshing a Zammad installation:
$ rails zammad:bootstrap:init   # on a fresh install
$ rails zammad:bootstrap:reset  # on an existing install
The following sections describe in detail the steps automated by the rake tasks above. If you’re not too concerned about what’s going on under the hood, skip ahead to Launching Zammad.
database.yml
The official repository does not include a config/database.yml file, because the contents of this file may vary from one developer to another, e.g., for different login credentials or different DB backends. Therefore we decided to exclude it from the repo to reduce the risk of someone accidentally committing such changes.
However, a working sample is provided in the config/database directory:
$ cp config/database/database.yml config/database.yml
(Bypassing) The setup wizard
Zammad requires some extra initialization beyond the standard rails db: rake tasks (create / migrate / seed). If you visit the homepage after running those tasks and starting the server, you will be presented with a setup wizard like the one below:
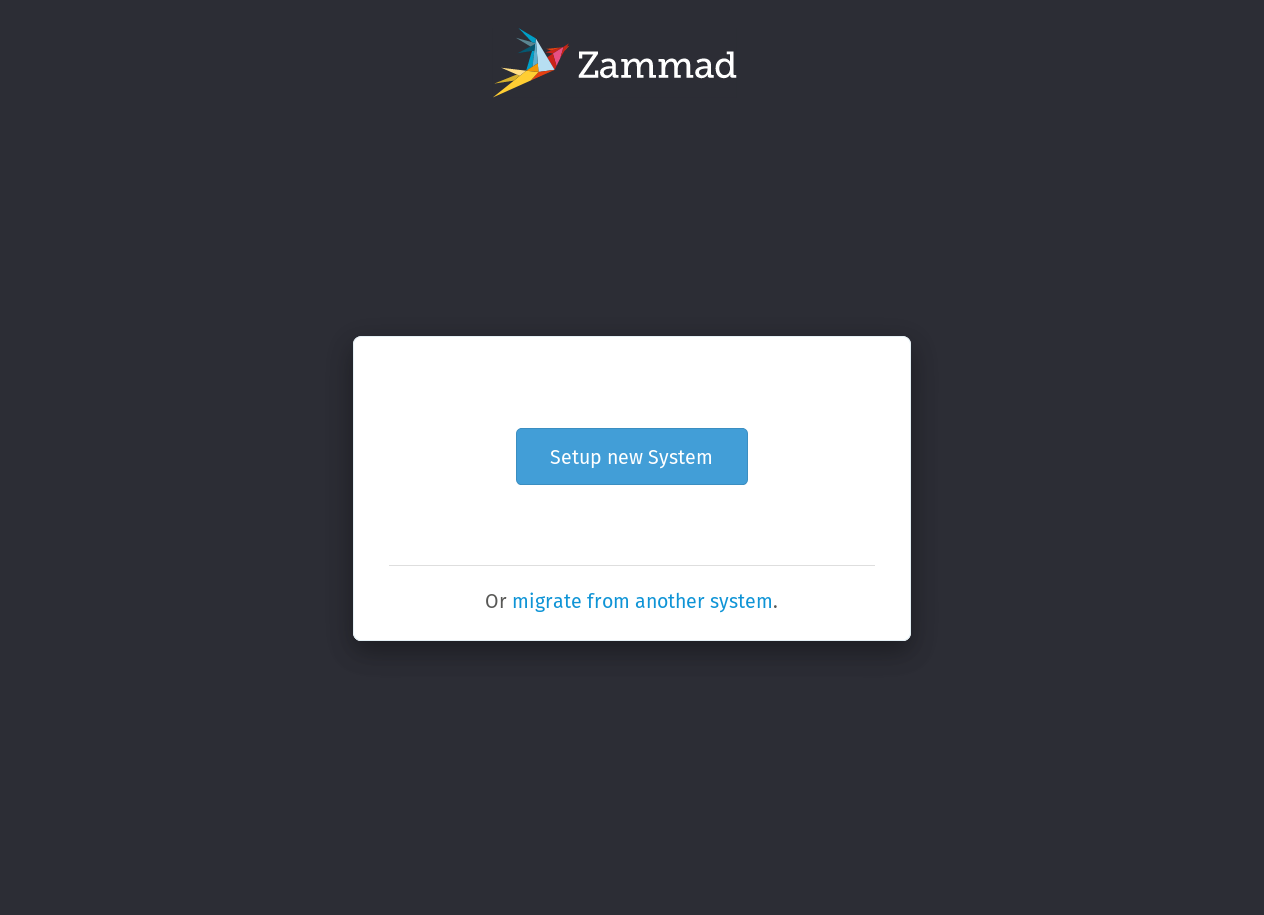
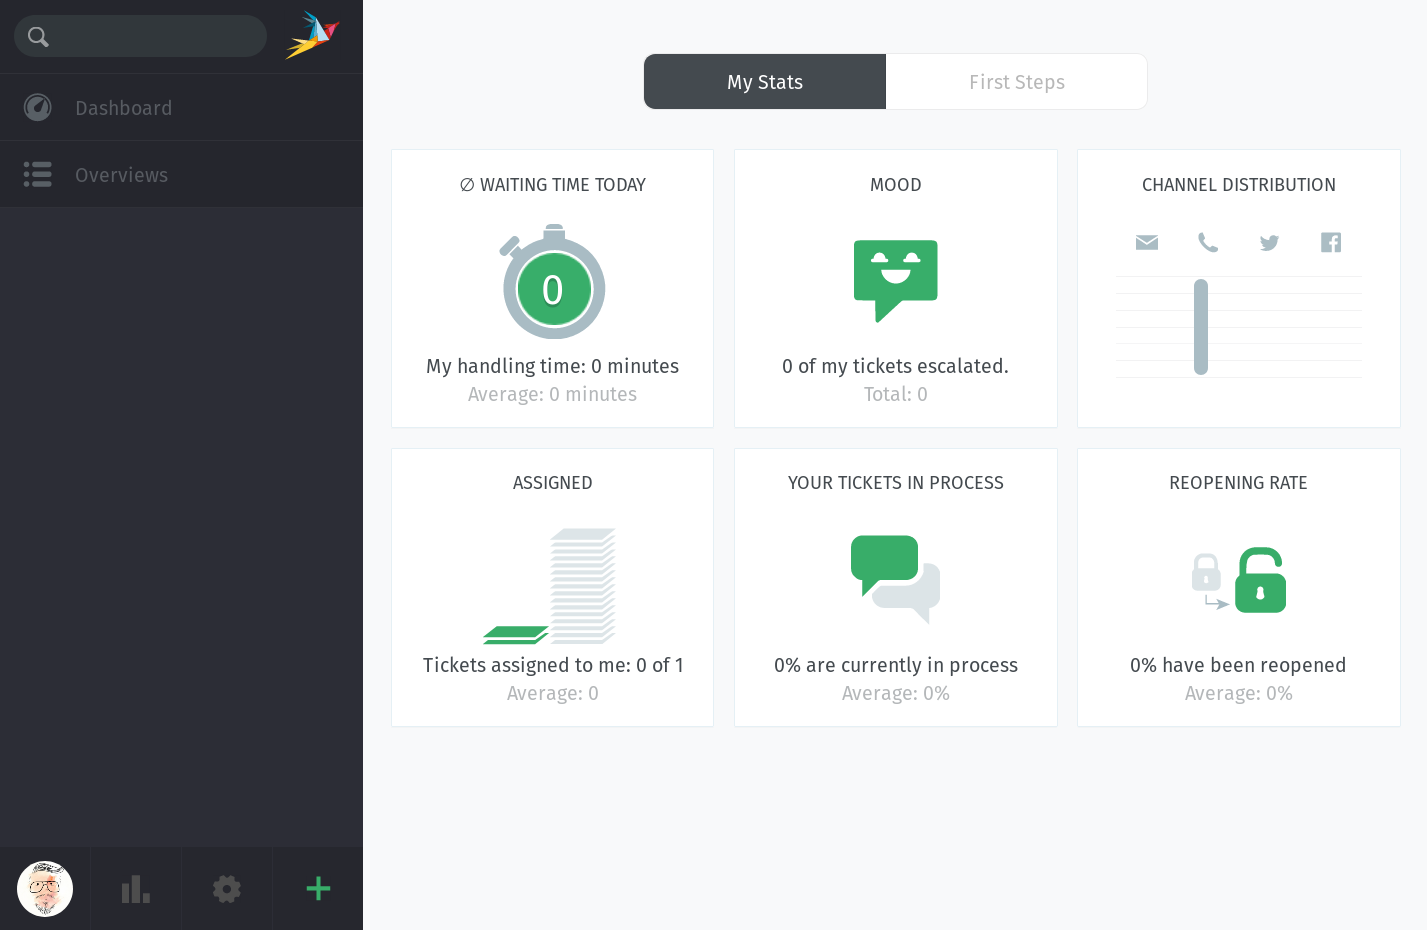
The wizard can be time-consuming to go through (for instance, you have the option to enter and validate SMTP credentials for outgoing emails), but you can’t access the main dashboard (below) or interact with the rest of the app until you complete it.
You should click through the wizard just once, just to get a sense of what our users go through — but if we had to do this every time we reset the database, we’d never get any actual work done. So, Zammad includes a feature called the auto-wizard to load the application with a set of predefined values instead.
The auto-wizard can either be run from the Rails console or triggered by a page visit in the browser, but either way, it needs two things to work:
- a clean, freshly-seeded database, and
- an
auto_wizard.jsonconfig file (like the one stored in/contrib) located in the project root. Once the auto-wizard is complete, this file will be removed automatically.
Option 1: Rake task
$ rake zammad:setup:auto_wizard
Option 2: Running via rails console
$ cp contrib/auto_wizard_test.json auto_wizard.json
$ rails console
Loading development environment (Rails 5.1.5)
>> AutoWizard.setup
=> #<User:0x000056220b14db50...
>> UserInfo.current_user_id = 1
=> 1
>> Setting.set('system_init_done', true)
=> true
Option 3: Running in-browser
$ cp contrib/auto_wizard_test.json auto_wizard.json
$ rails server
Then, visit http://localhost:3000/#getting_started/auto_wizard.
Launching Zammad
There are three separate processes that support the Zammad application (a web server, websocket server and background-worker). The web server alone is sufficient to launch the application, but without the other two, critical features will not work.
Using the Procfile
Zammad uses a Procfile to specify the different processes required by the application. We are using forego) to read the Procfile and spawn each process listed within it:
$ forego start
Note that if any one of the managed processes spontaneously dies, forego will automatically kill the rest. Simply use the -r flag to automatically respawn stopped processes instead.
Manually
Of course, you can always just start and stop all the processes by hand:
# in three separate terminal windows
$ rails server
$ script/background-worker.rb start
$ script/websocket-server.rb start
Login
Once you’ve launched Zammad, access the app in your browser by visiting localhost:3000 and log in using following credentials:
User: admin@example.com
Pasword: test