
README.md 5.3 KB
Email Agent alert notifications
Learn how to send notifications via Email using Netdata's Agent alert notification feature, which supports dozens of endpoints, user roles, and more.
Note
This file assumes you have read the Introduction to Agent alert notifications, detailing how the Netdata Agent's alert notification method works.
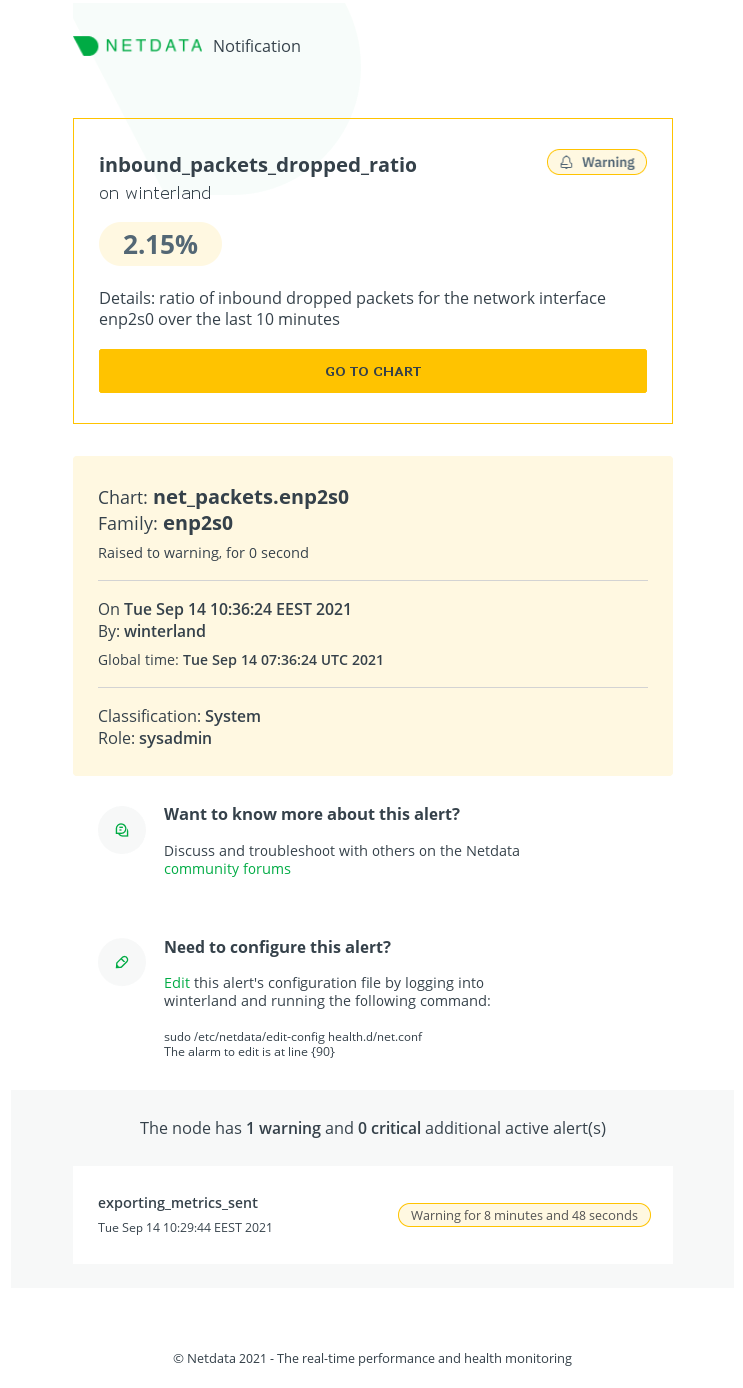
Email notifications look like this:
Prerequisites
You will need:
- A working
sendmailcommand for email alerts to work. Almost all MTAs provide asendmailinterface.
Netdata sends all emails as usernetdata, so make sure yoursendmailworks for local users.
Note
If you are using our Docker images, or are running Netdata on a system that does not have a working
sendmailcommand, see the section below about using msmtp in place of sendmail.
- terminal access to the Agent you wish to configure
Configure Netdata to send alerts via Email
Info
This file mentions editing configuration files.
- To edit configuration files in a safe way, we provide the
edit configscript located in your Netdata config directory (typically is/etc/netdata) that creates the proper file and opens it in an editor automatically.
Note that to run the script you need to be inside your Netdata config directory.It is recommended to use this way for configuring Netdata.
Edit health_alarm_notify.conf, changes to this file do not require restarting Netdata:
You can change
EMAIL_SENDERto the email address sending the notifications, the default is the system user Netdata runs as, usually beingnetdata.
Supported formats are:EMAIL_SENDER="user@domain" EMAIL_SENDER="User Name <user@domain>" EMAIL_SENDER="'User Name' <user@domain>" EMAIL_SENDER="\"User Name\" <user@domain>"Set
SEND_EMAILtoYES.Set
DEFAULT_RECIPIENT_EMAILto the email address you want the email to be sent by default.
You can define multiple email addresses like this:alarms@example.com systems@example.com.
All roles will default to this variable if left unconfigured.There are also other optional configuration entries that can be found in the same section of the file.
You can then have different email addresses per role, by editing DEFAULT_RECIPIENT_EMAIL with the email address you want, in the following entries at the bottom of the same file:
role_recipients_email[sysadmin]="systems@example.com"
role_recipients_email[domainadmin]="domains@example.com"
role_recipients_email[dba]="databases@example.com systems@example.com"
role_recipients_email[webmaster]="marketing@example.com development@example.com"
role_recipients_email[proxyadmin]="proxy-admin@example.com"
role_recipients_email[sitemgr]="sites@example.com"
An example of a working configuration would be:
#------------------------------------------------------------------------------
# email global notification options

EMAIL_SENDER="example@domain.com"
SEND_EMAIL="YES"
DEFAULT_RECIPIENT_EMAIL="recipient@example.com"
Filtering
Every notification email (both the plain text and the rich html versions) from the Netdata agent, contain a set of custom email headers that can be used for filtering using an email client. Example:
X-Netdata-Severity: warning
X-Netdata-Alert-Name: inbound_packets_dropped_ratio
X-Netdata-Chart: net_packets.enp2s0
X-Netdata-Family: enp2s0
X-Netdata-Classification: System
X-Netdata-Host: winterland
X-Netdata-Role: sysadmin
Using msmtp instead of sendmail
msmtp provides a simple alternative to a full-blown local mail server and sendmail
that will still allow you to send email notifications. It comes pre-installed in our Docker images, and is available
on most distributions in the system package repositories.
To use msmtp with Netdata for sending email alerts:
- If it’s not already installed, install msmtp. Most distributions have it in their package repositories with the package name
msmtp. Modify the
sendmailpath inhealth_alarm_notify.confto point to the location ofmsmtp:# The full path to the sendmail command. # If empty, the system $PATH will be searched for it. # If not found, email notifications will be disabled (silently). sendmail="/usr/bin/msmtp"Login as netdata:
(sudo) su -s /bin/bash netdataConfigure
~/.msmtprcas shown in the documentation.Finally set the appropriate permissions on the
.msmtprcfile :chmod 600 ~/.msmtprc
Test the notification method
To test this alert notification method refer to the "Testing Alert Notifications" section of the Agent alert notifications page.