Example:

Ironing Pattern Calibration |
|||
|
You need to do the filament flow calibration and the bridge flow ratio before this one. It's better if you have done the filament temperature calibration as well.
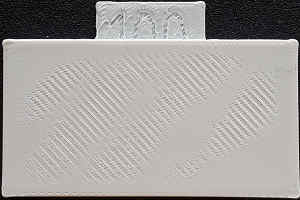
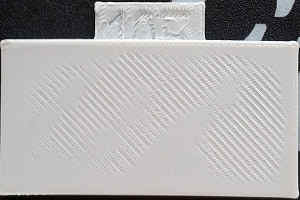
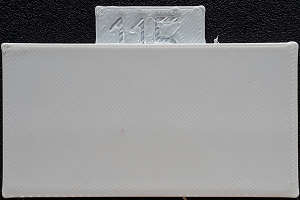
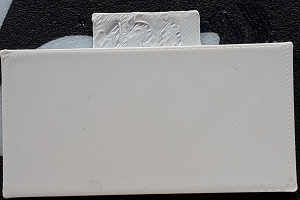
This calibration method will print test samples with various levels of above-bridge flow ratio, between 100 and 125. Choose the lowest value on which the top surface is smooth without rough "holes". Begin with the above-bridge calibraiton.
If the above-bridge calibration is not conclusive (same holes on all samples), then set it to 110% and use the top flow calibration. This setting is a bit more unpredictable so it's best to not move it far away from 100%.
|
|
|
|
|
| Not flat | Not flat | Not flat | Flat | Flat |
This test set the setting "Complete individual objects" to true, so you may want to reset your print settings afterwards
Licence for models used for this calibration test: CC BY-SA 3.0